In the digital age, tools like Canva have revolutionized graphic design, making it accessible for everyone from small business owners to hobbyists. With its intuitive drag-and-drop interface and vast library of templates, creating stunning visuals is easier than ever. However, when it comes to transitioning from screen to print—whether for business cards, posters, flyers, or brochures—preparation is key to ensuring your final product looks professional and vibrant. Poorly prepared files can lead to issues like blurry images, color discrepancies, or cropped edges. In this blog post, we’ll walk you through the essential steps to prepare your Canva files for print, drawing on best practices to help you achieve high-quality results.
Why Proper Preparation Matters
Printing requires higher standards than digital sharing. Screens display in RGB (Red, Green, Blue) color mode, while printers use CMYK (Cyan, Magenta, Yellow, Black) ink. Canva designs are created in RGB, but with the right export settings, you can convert them effectively for print. Additionally, factors like resolution (aim for 300 DPI), bleed areas, and file formats play crucial roles. Skipping these can result in costly reprints or subpar quality. Fortunately, Canva’s built-in tools make this process straightforward.
Step 1: Set Up Your Design for Print from the Start
Begin with the end in mind. When starting a new project in Canva:
- Choose the Right Template and Dimensions: Select a print-specific template or custom size that matches your final product (e.g., 8.5 x 11 inches for a flyer). Canva offers presets for common print items like postcards or banners.
- Enable Bleed and Safe Margins: Bleed is the extra space around your design that gets trimmed off, ensuring edge-to-edge printing without white borders. In Canva, go to File > Show margins to add guides. For bleed, add 0.125 inches (or 3mm) on all sides manually by extending your background or elements beyond the canvas edges. Canva’s Help Center recommends adding bleed to prevent trimming issues.
- Use High-Resolution Images: Upload or select images that are at least 300 DPI. Canva’s stock photos are usually high-res, but if you’re using your own, check the quality to avoid pixelation. Resize elements carefully to maintain sharpness.
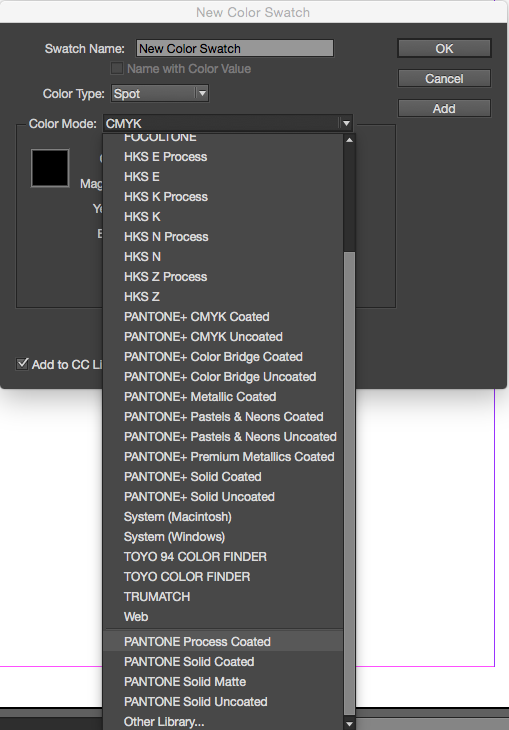
- Color Mode Considerations: While Canva works in RGB, opt for colors that translate well to CMYK. Avoid neon hues, as they may dull in print. Canva’s PDF Print export handles the conversion automatically.
Pro Tip: If your design includes text, stick to Canva’s fonts or upload custom ones that are licensed for print use.
Step 2: Review and Proof Your Design
Before exporting, double-check everything:
- Zoom In for Details: View your design at 100% or more to spot any low-res elements or alignment issues.
- Add Crop Marks and Rulers: Use Canva’s rulers (View > Show rulers) for precise placement. Crop marks will be added during export.
- Test for Accessibility: Ensure text contrasts well with backgrounds, especially for printed materials like invitations or marketing collateral.
It’s also wise to share a preview with a colleague or print a small test at home to catch errors early.
Step 3: Export Your File for Print
This is where the magic happens. Canva’s export options are tailored for print:
- Navigate to Download: Click the Share button in the top-right corner, then select Download.
- Choose PDF Print: From the File type dropdown, pick PDF Print. This format embeds fonts, preserves quality, and converts to CMYK for better color accuracy. It’s the recommended choice for professional printing, as noted in various guides.
- Apply Key Settings:
- Tick the Crop marks and bleed checkbox to include trim guides and the bleed area.
- Select Flatten PDF if your design has transparencies or layers, to avoid printing errors.
- For multi-page designs, ensure all pages are selected.
- If available (in Canva Pro), choose Compress file for smaller sizes without losing quality.
- Download and Verify: Save the file and open it in a PDF viewer like Adobe Acrobat to confirm everything looks sharp. Some experts suggest exporting as PDF for the best results, even over other formats.
Following these steps ensures your file is print-ready and minimizes revisions. For more complex designs, tools like PitStop can help clean up files post-export, but that’s often unnecessary for simple Canva projects.
Common Mistakes to Avoid
- Ignoring Bleed: This leads to unwanted white edges.
- Low-Quality Exports: Always use PDF Print over JPG or PNG for print.
- Color Mismatches: Print a proof to compare screen vs. print colors.
- Overlooking File Size: Large files are fine for print, but compress if emailing to a printer.
If you’re sending to a print shop, check their specific guidelines—some outline three simple steps for export that align closely with Canva’s process. Videos from creators also demonstrate these exports in action, emphasizing settings for print shops.
Final Thoughts
Preparing Canva files for print doesn’t have to be intimidating. By setting up your design thoughtfully, reviewing meticulously, and exporting with the right settings, you’ll get professional-grade prints every time. Whether you’re printing at home or through a service, these steps will save you time and money. If you’re new to this, start with a small project to build confidence. Happy designing—and printing!
For more tips, explore Canva’s official help resources or consult us for custom advice.